

- Part 1 — Set up in the dashboard (no code): create your app, get your API key, and connect your company to eTIMS. We handle the KRA/OSCU onboarding hoops for you here.
- Part 2 — Operate via the API (your code): register items, manage stock, and create sales.
The split in one line: the dashboard connects a company to eTIMS once; your code does the day-to-day invoicing.
Part 1 — Set up in the dashboard
Everything in the API is scoped to an application, and applications belong to an organization:Step 1.1 — Create your account
Go to the Sync2Books Dashboard and sign up. The form is a short two-step wizard: your personal details, then your organization (company name, industry, team size).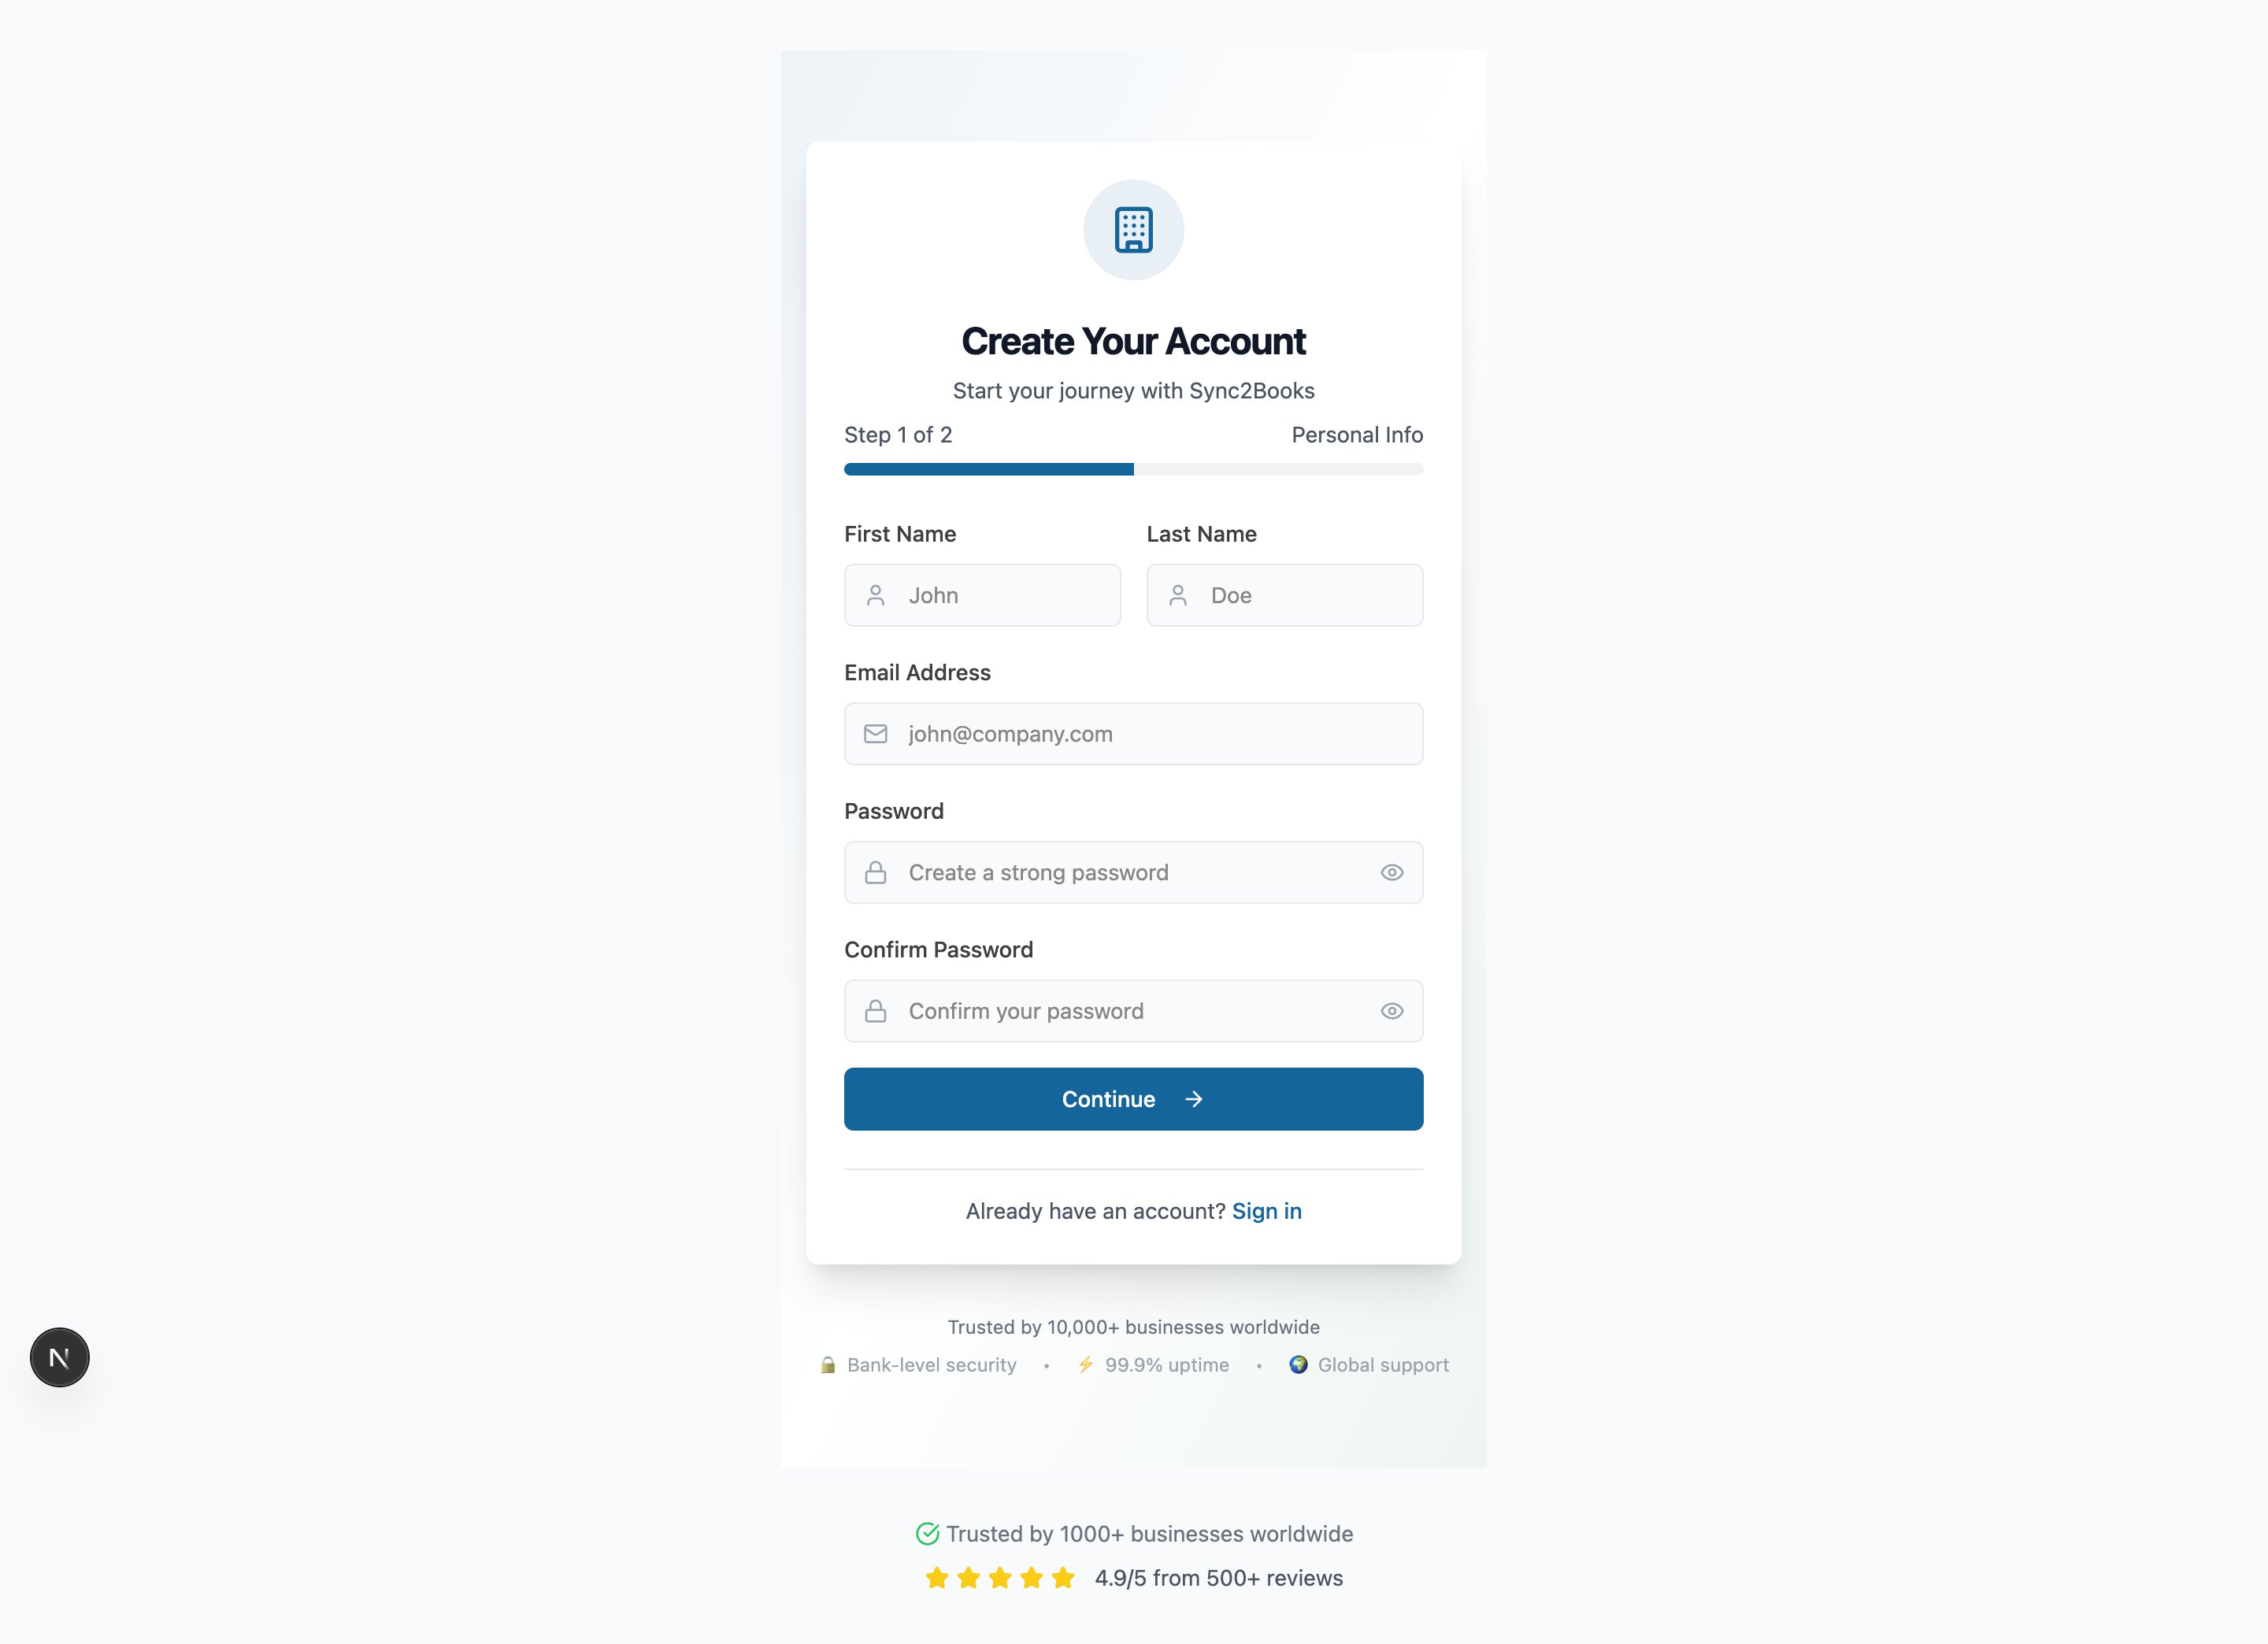
Step 1.2 — Create an application
Onboarding walks you through creating your first application — your product/integration, which owns the API keys you’ll use.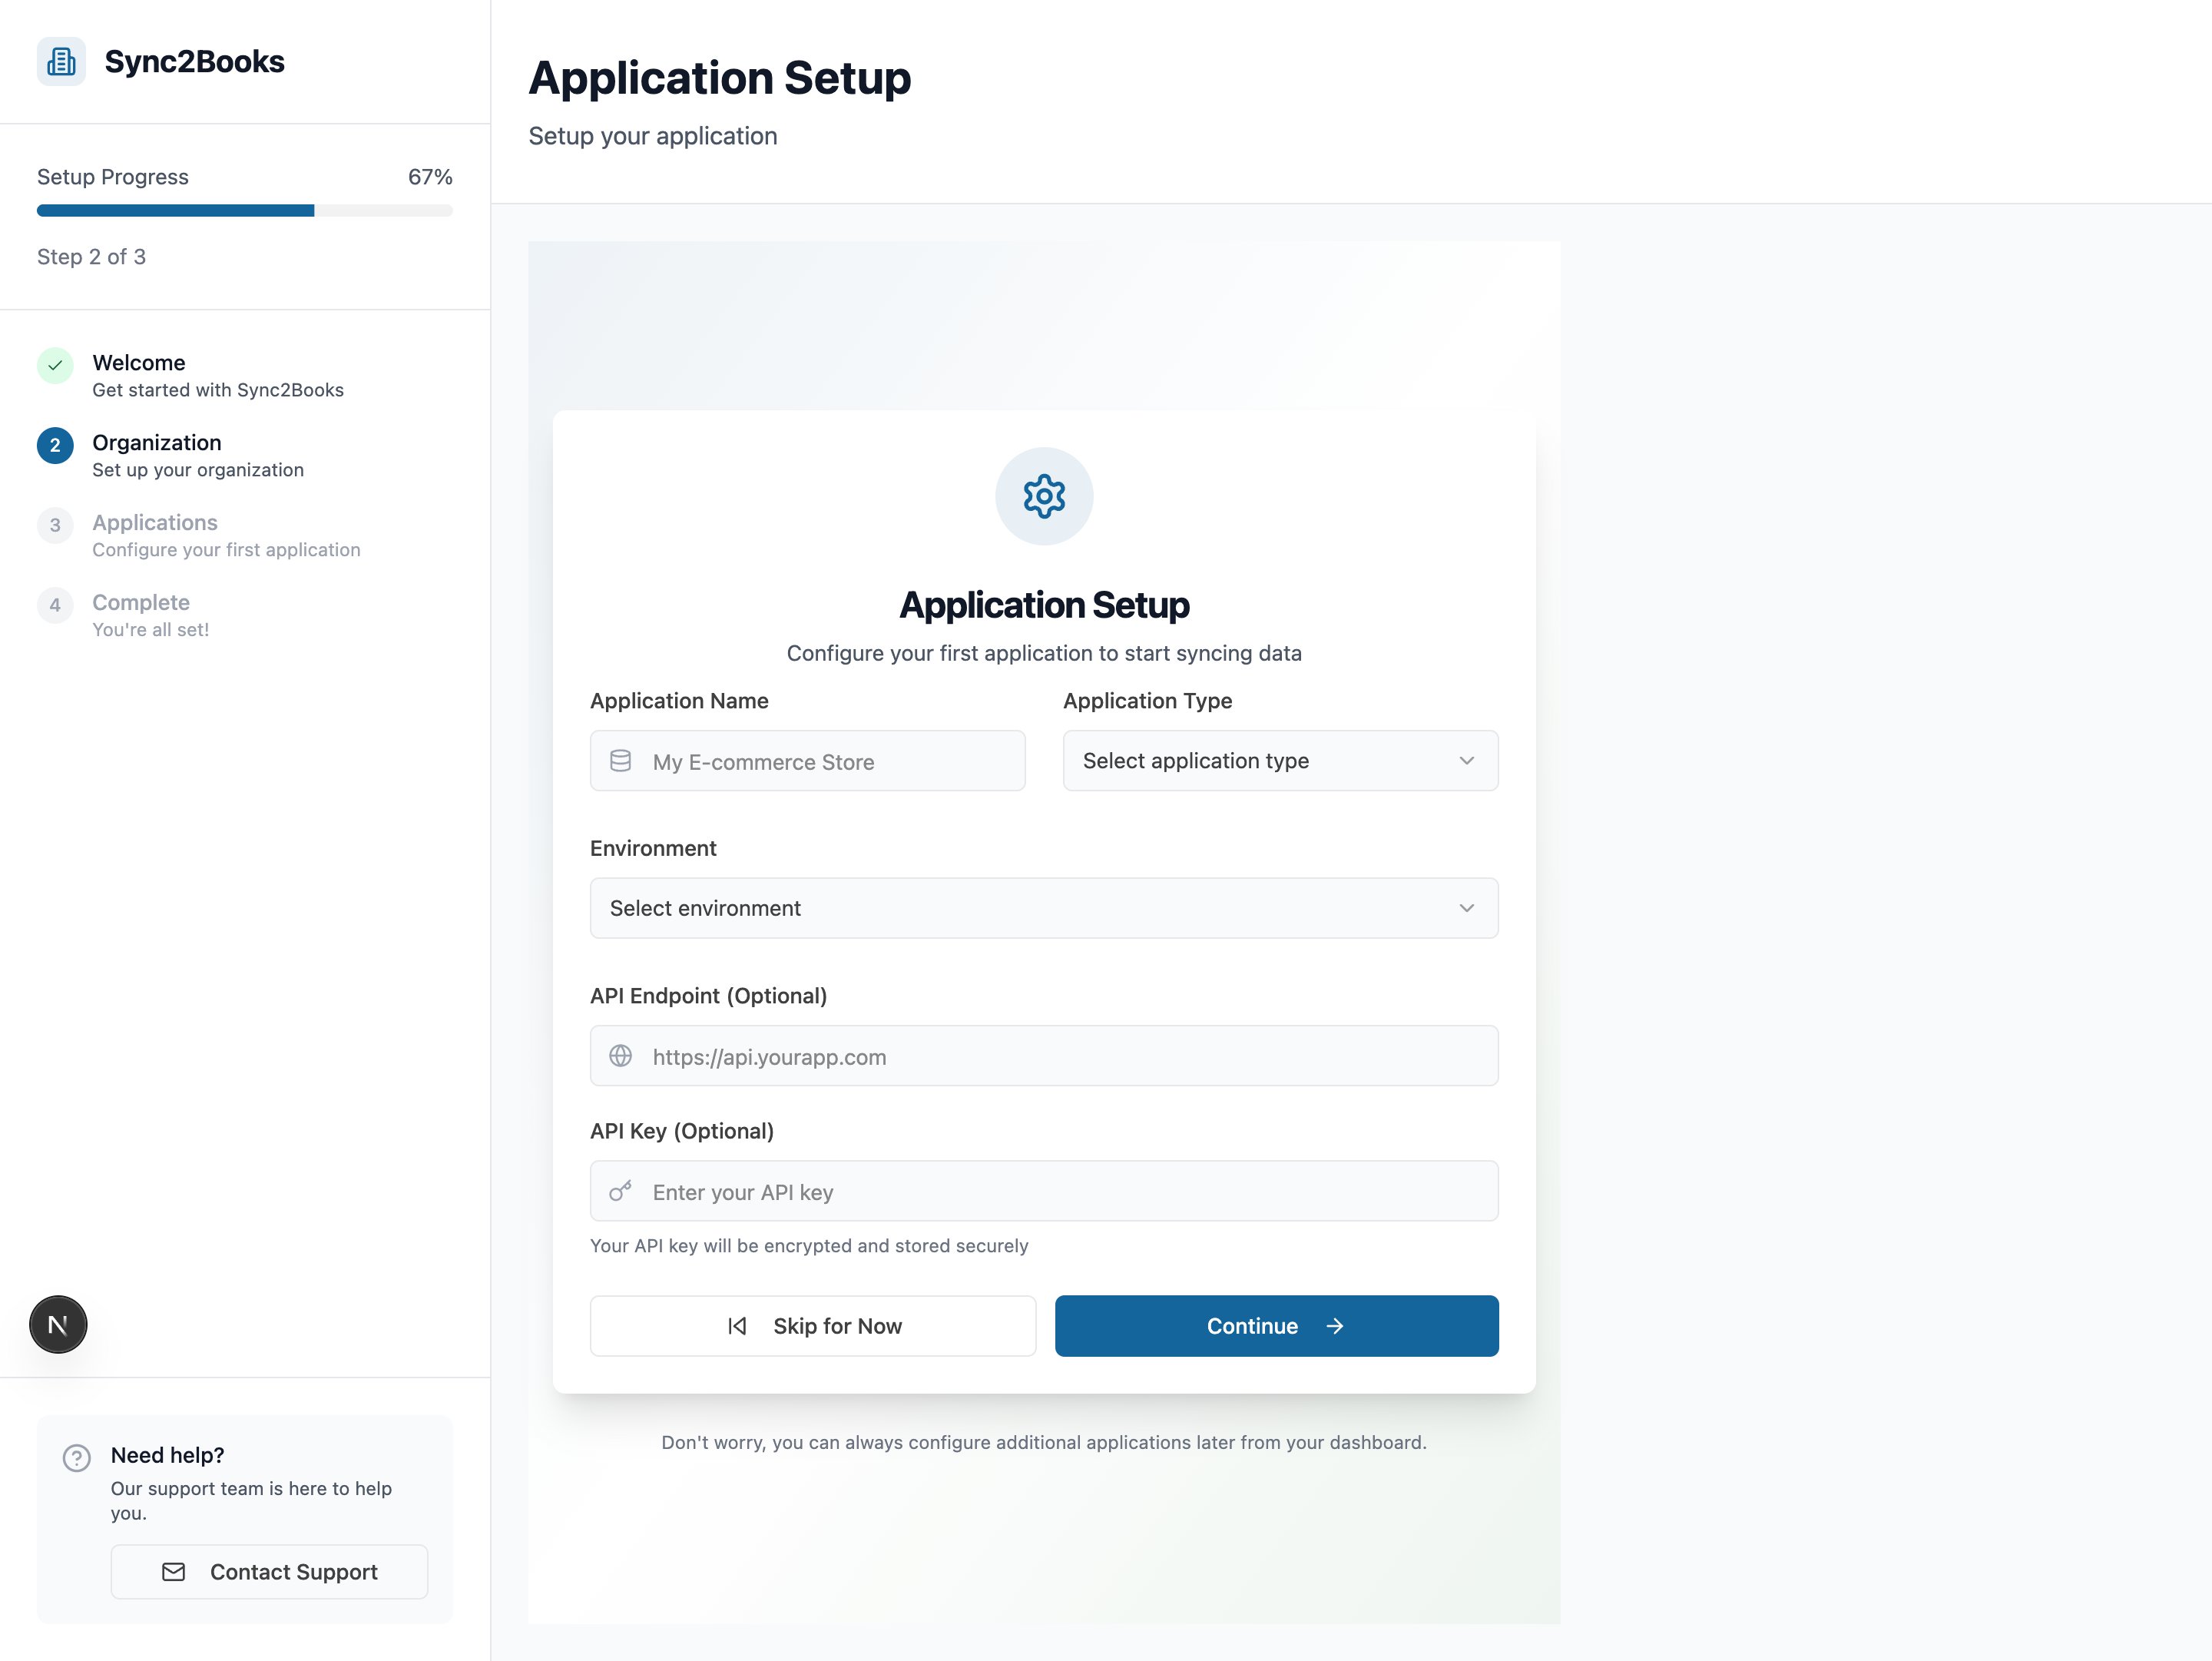
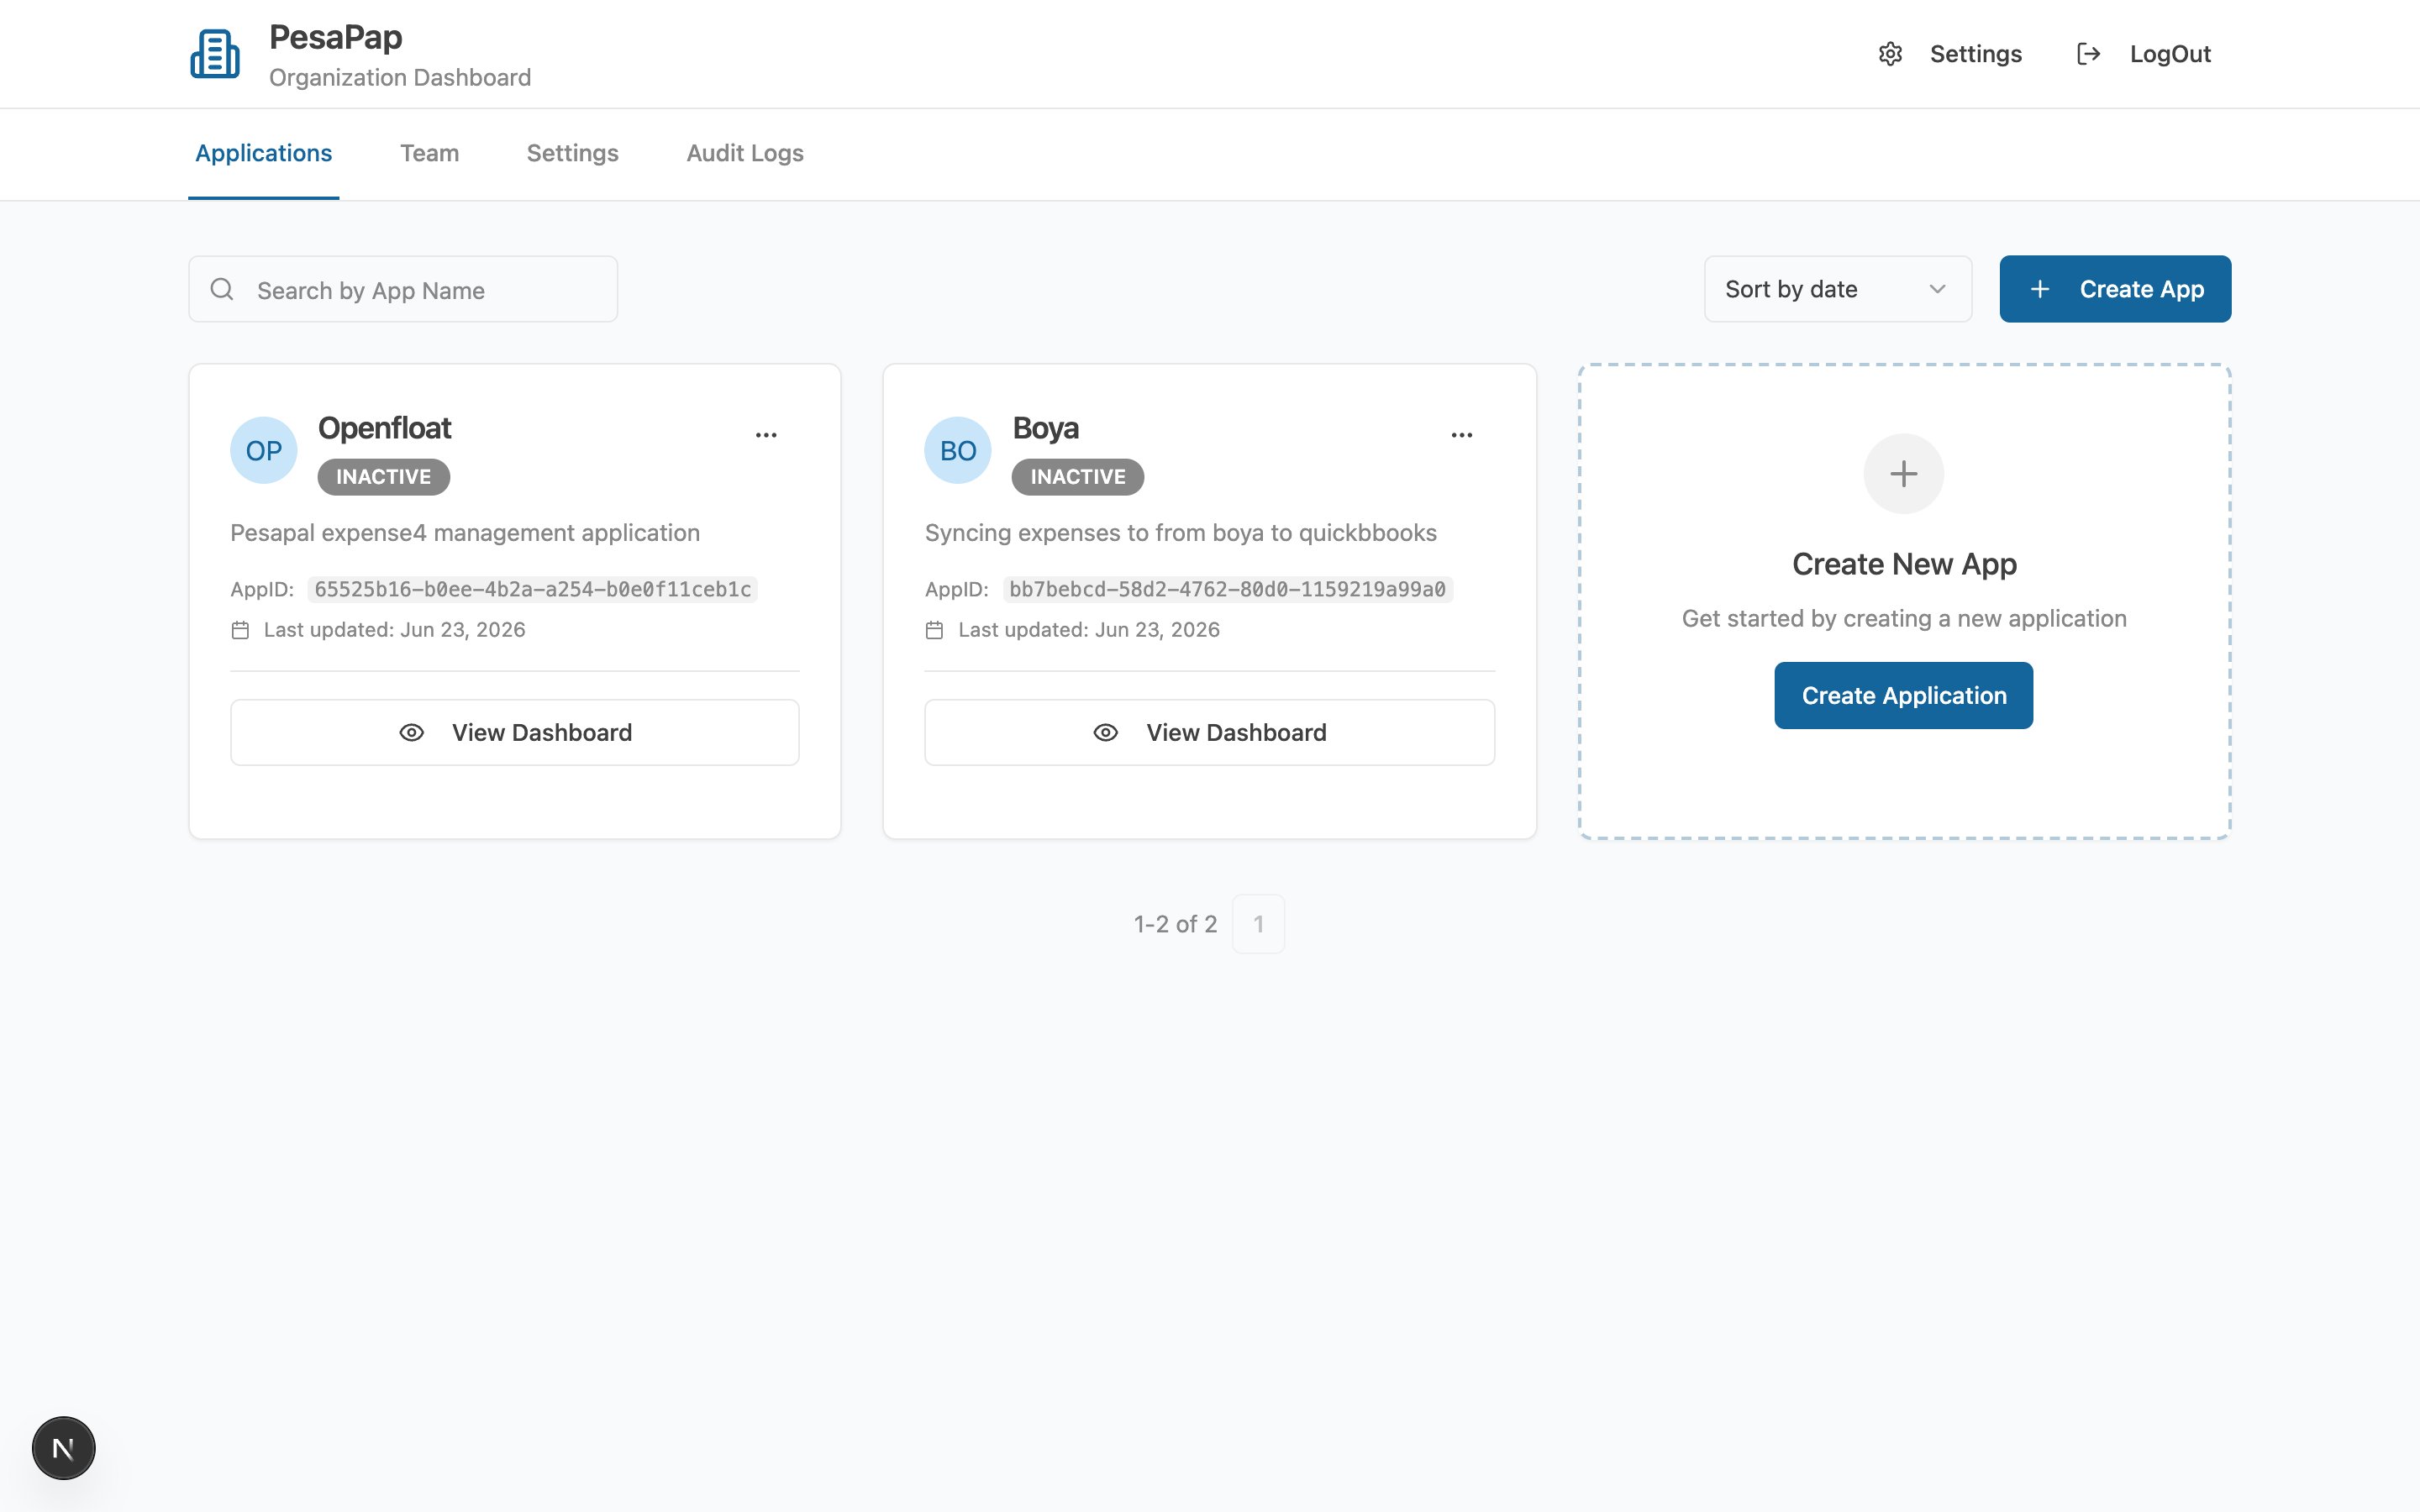
Step 1.3 — Copy your API key
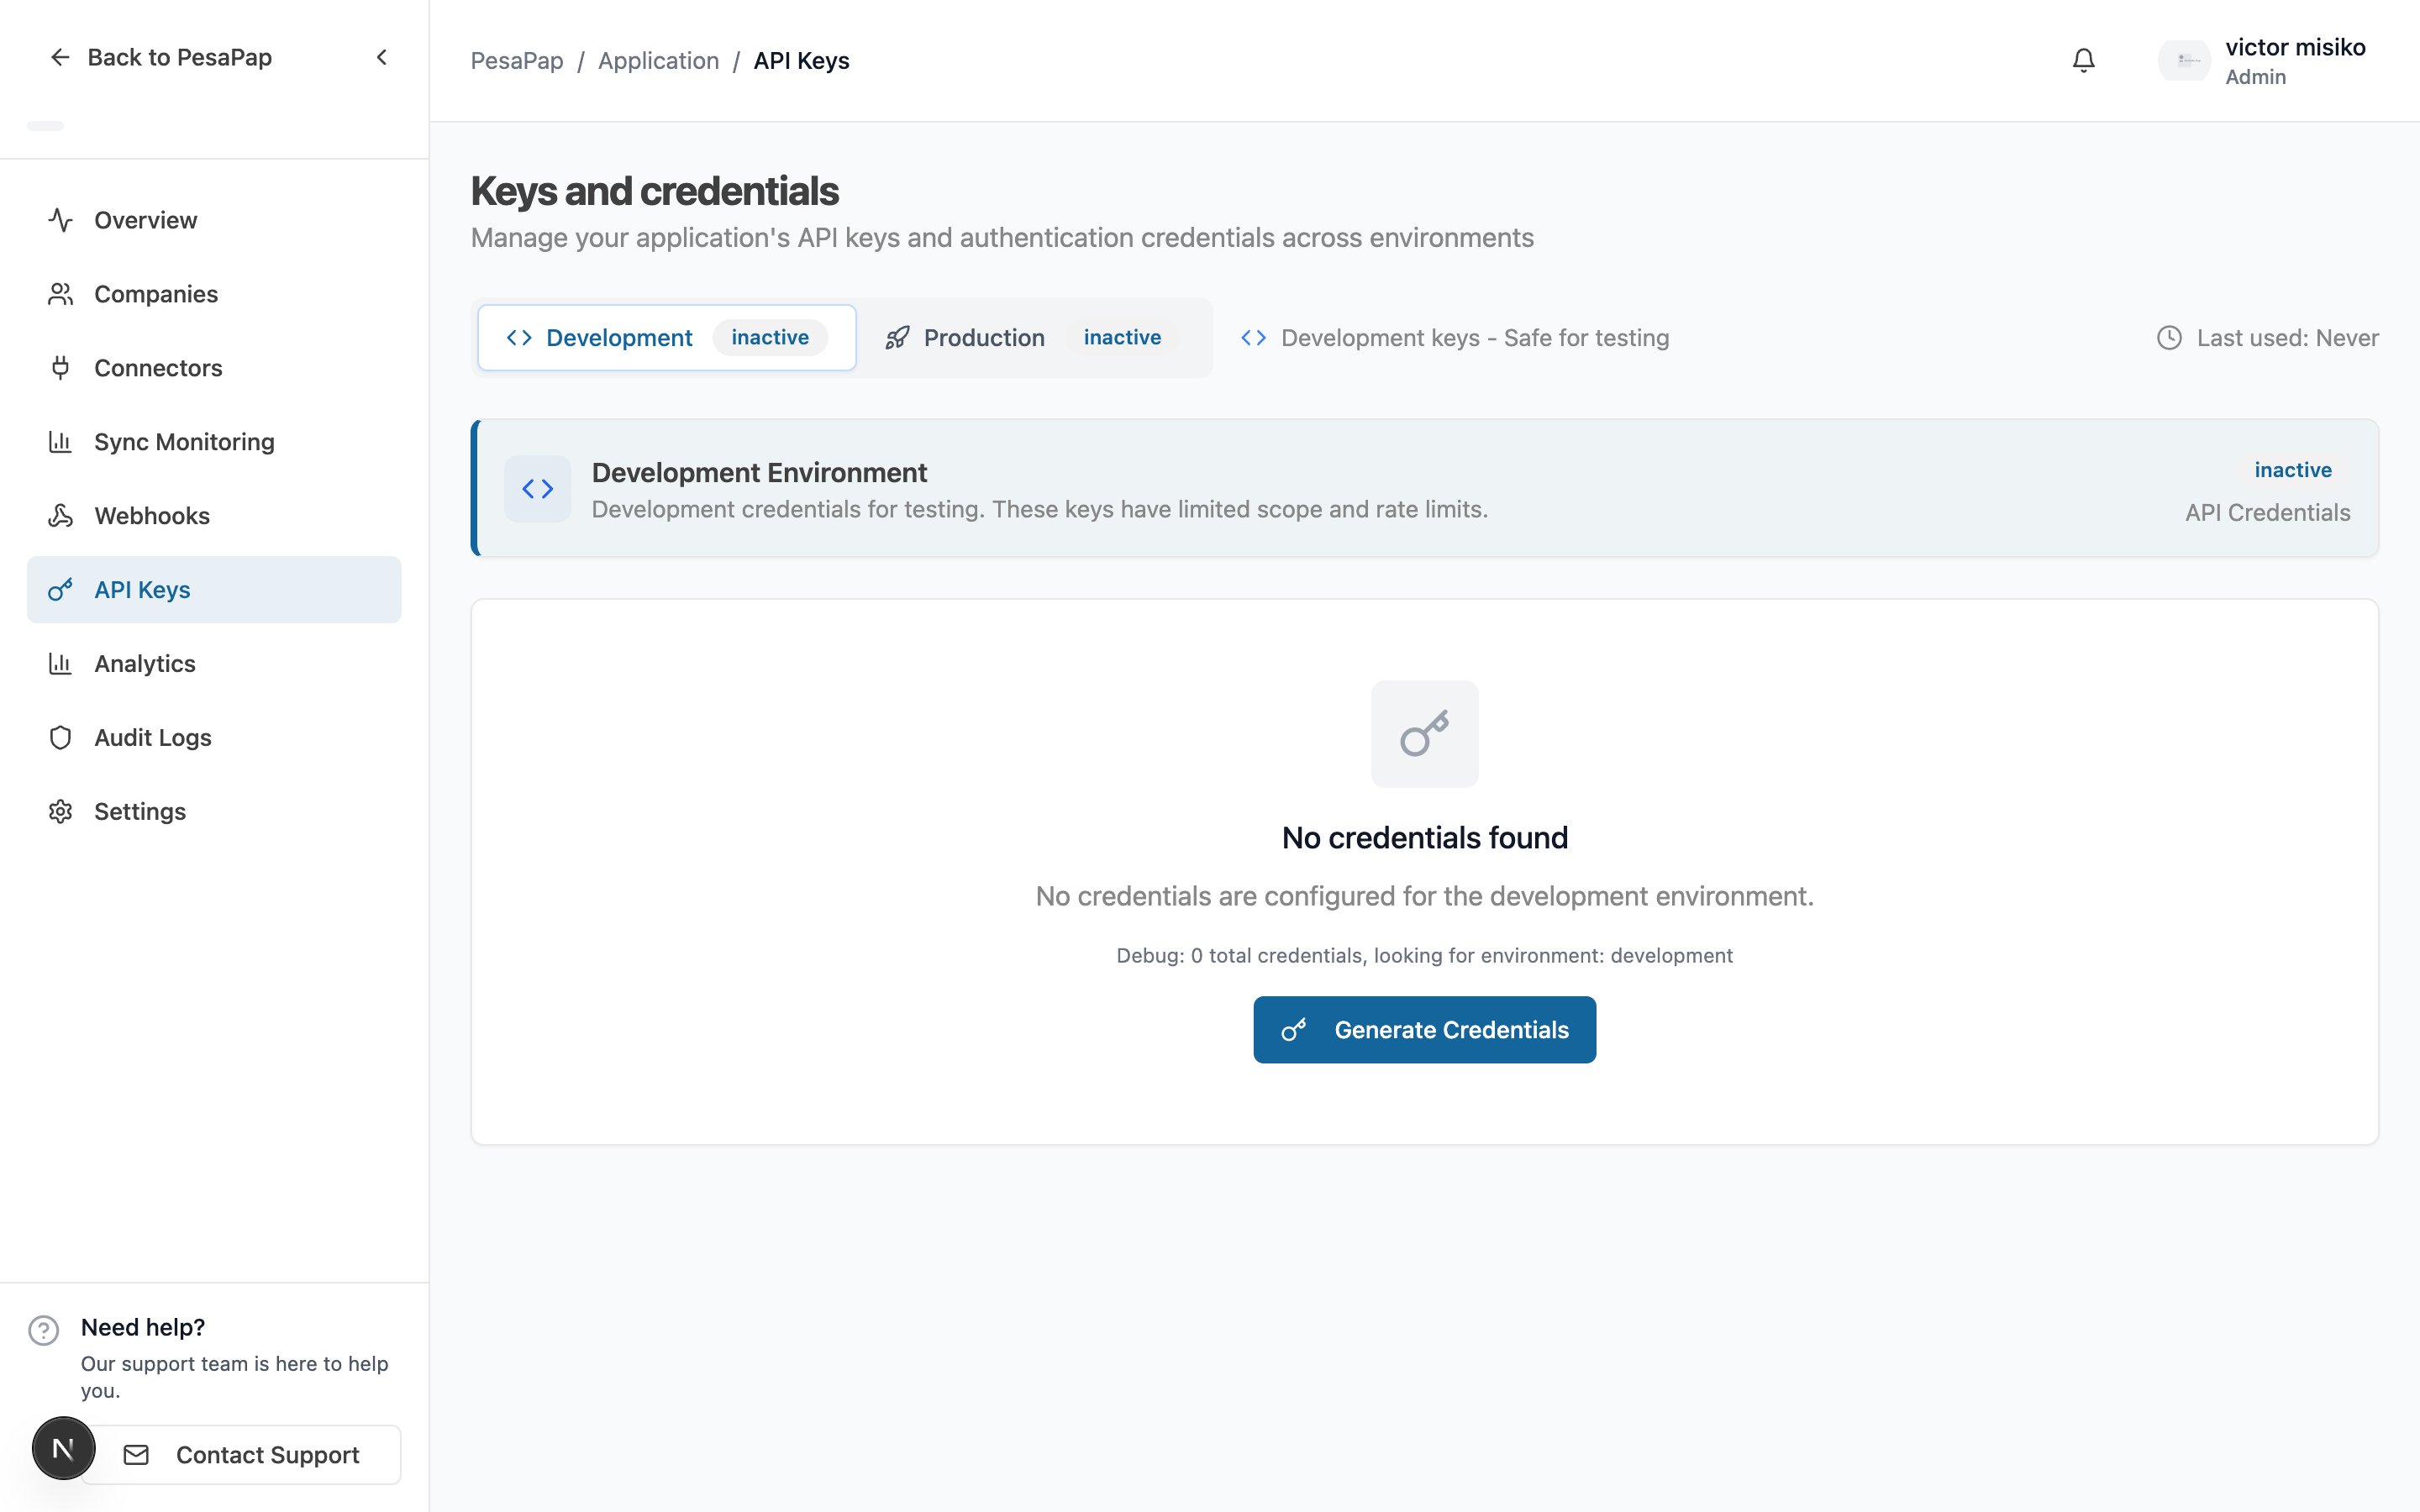
Open your application → API Keys. Toggle between Development and Production, then copy the API Key (x-api-key). Use Development while building.
Authentication is shared across all products. Every API call sends this key in
the
X-API-Key header; an HMAC signature (X-Signature + X-Timestamp) is optional.
The full mechanics — key formats, your client secret, and how to sign requests — live
once in Core concepts → Authentication.Step 1.4 — Add your company and connect it to eTIMS
This is the step that saves your customers from the KRA gauntlet. In the dashboard, add the business as a company, then open its eTIMS card and provision the connection: enter the KRA PIN, OSCU device serial, and branch details, and click Provision. Sync2Books runs the OSCU device initialization and activates the connection.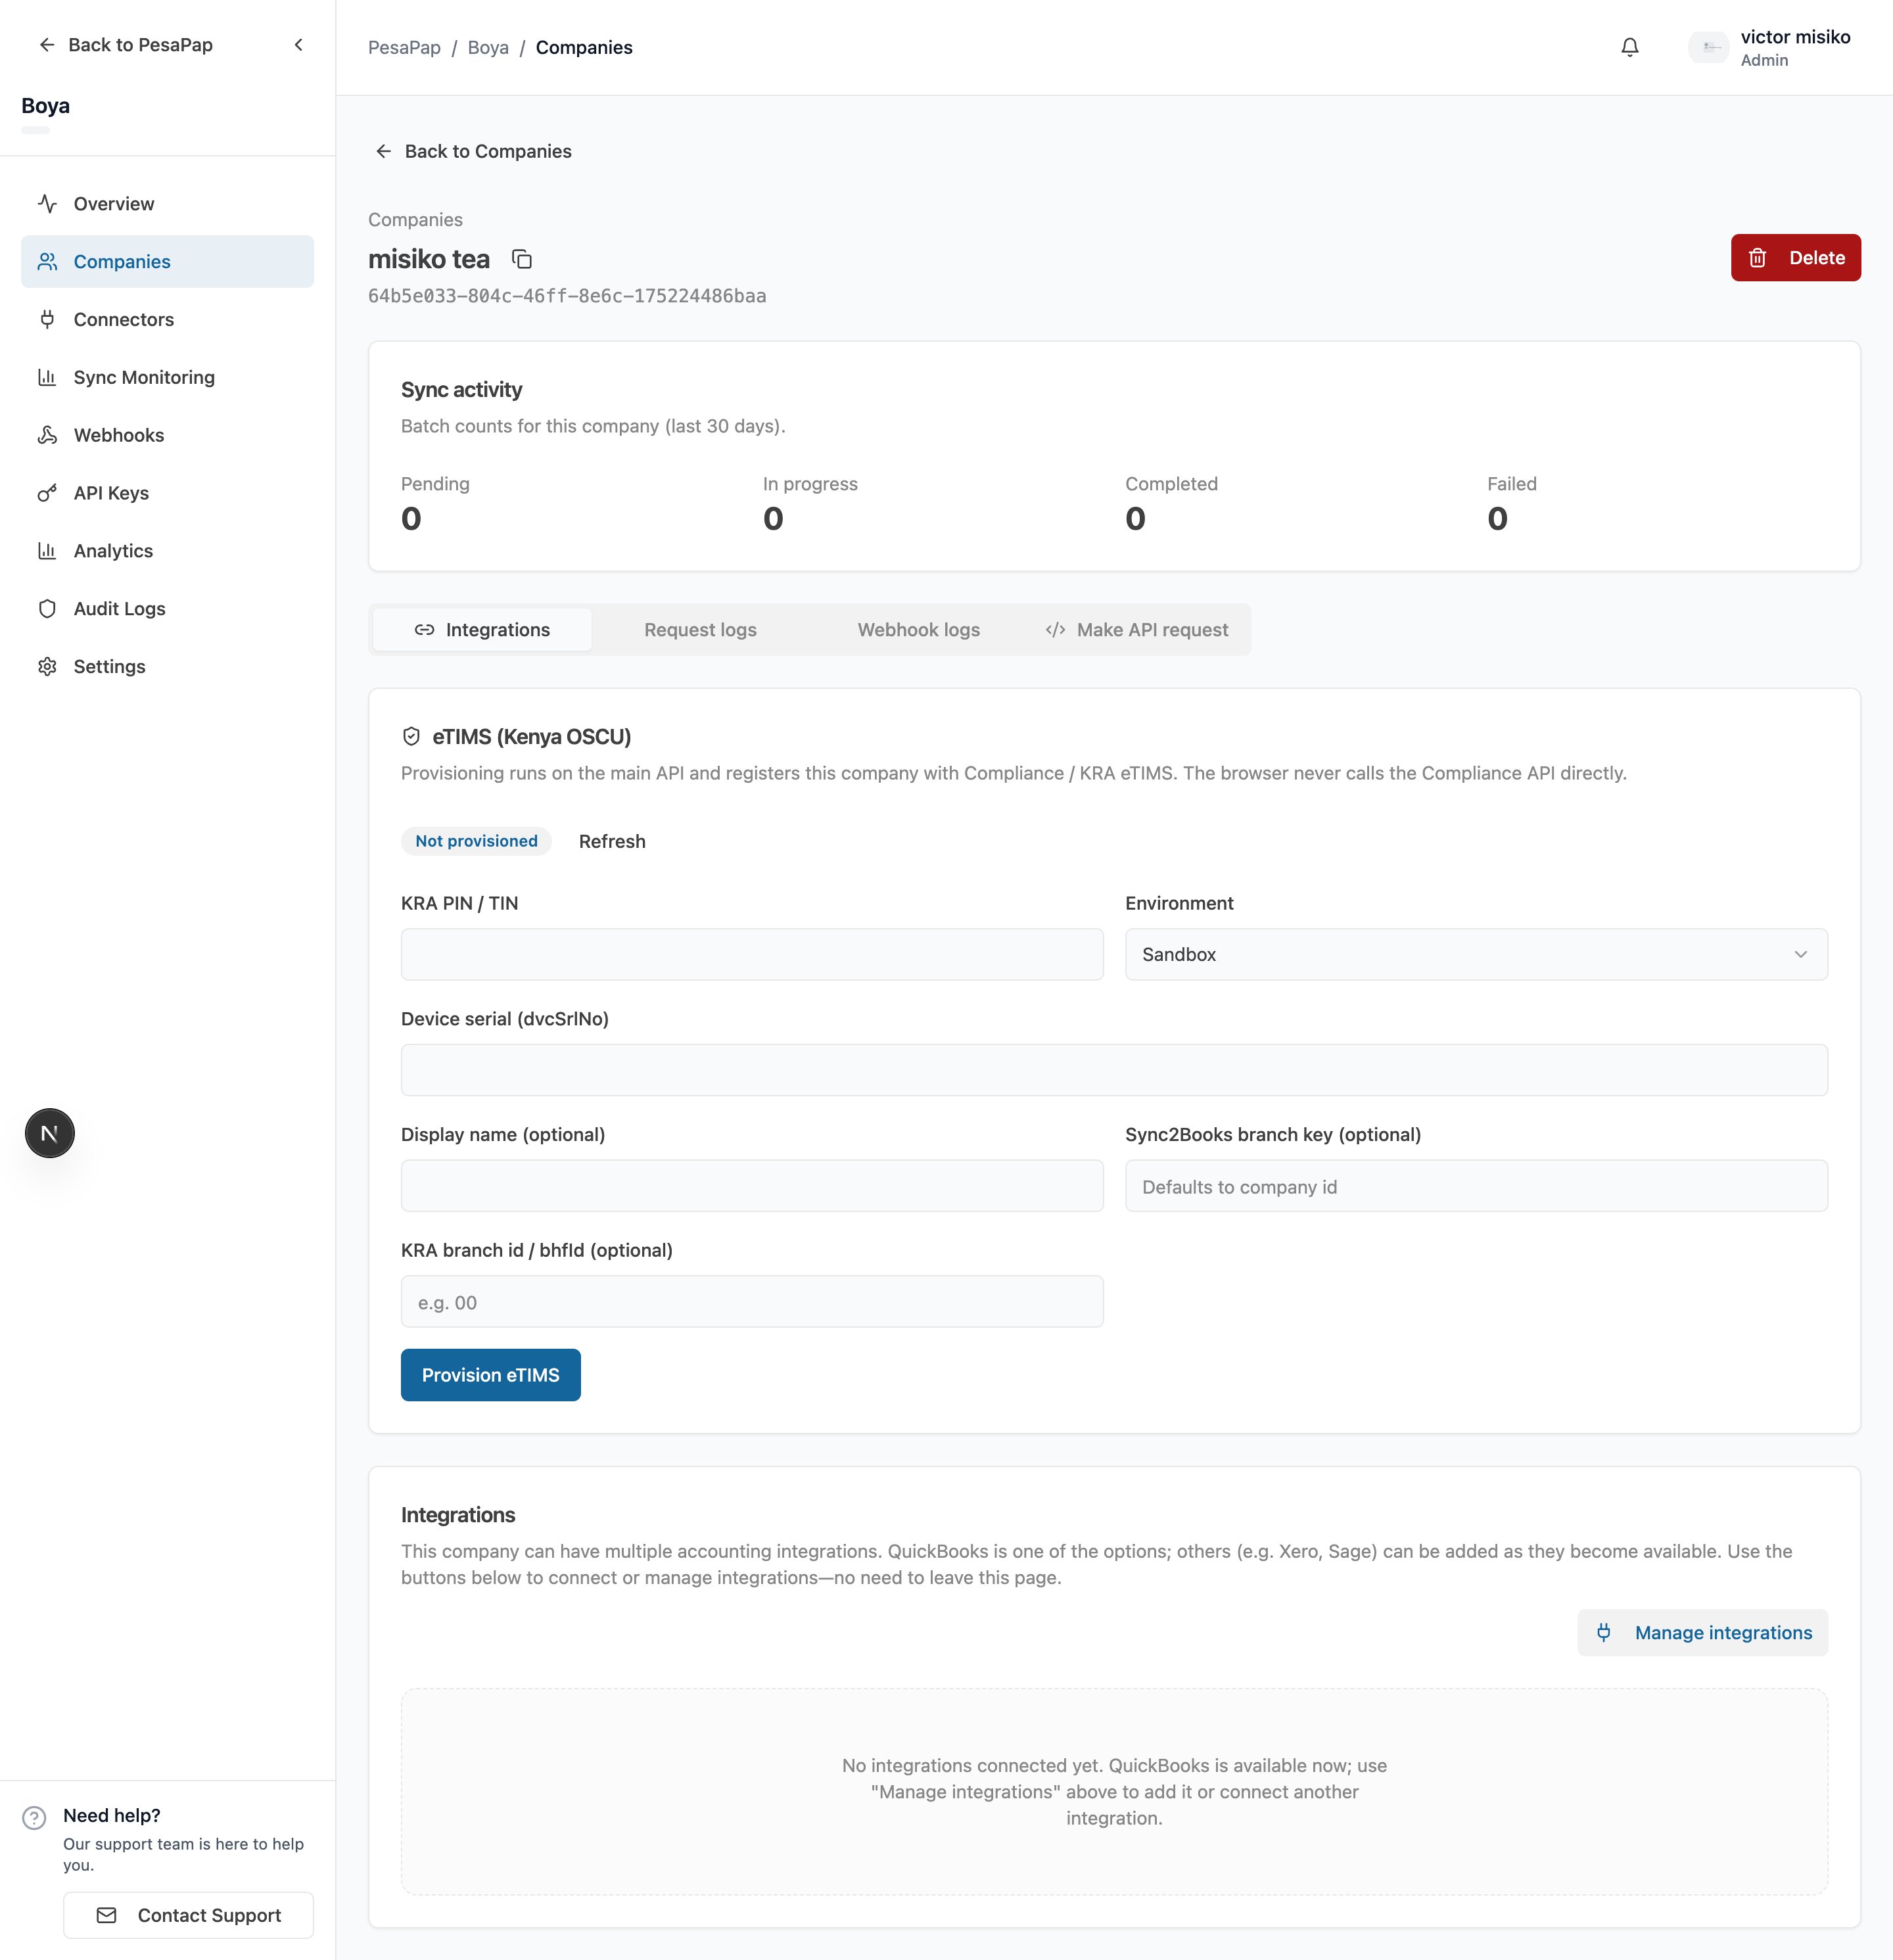
HQ) that you’ll use in API calls.
Where do the KRA PIN, device serial, and branch ID come from? From the business’s KRA OSCU onboarding — see the third-party integrator guide. Sandbox values are fine while developing. Prefer to automate onboarding for many companies? There’s an optional provisioning API too — see Provisioning → Advanced.You now have everything you need to call the API: an API key and a connected company (with its
companyId and a branchId).
Part 2 — Operate via the API
From here it’s your code. Replace{apiKey}, {companyId} (from the dashboard), and {branchId} (e.g. HQ).
Want to try these instantly? Import the eTIMS Postman Collection — every request below is in it, with variables for your key and IDs.
The golden order matters. eTIMS entities have prerequisites. Follow this sequence — skipping a step produces clear, but avoidable, errors:
register item → sync item → add stock → create sale → (credit note)
(The add stock step is for goods only — services are non-stock, so skip it. See Goods vs Services.)
Step 2.1 — Register a catalog item
Register a product you want to sell.externalId is your own stable identifier (your SKU or accounting-system id).
classificationCode is effectively required — without a valid KRA item classification code the register is rejected. See Catalog.
You’ll need the item’s id next. Read it back from the catalog list (distinct from your externalId):
Step 2.2 — Sync the item to eTIMS
Registering stores the item; syncing registers it with KRA and assigns an eTIMS item code. An item cannot be sold until it’s synced.registrationStatus becomes REGISTERED.
Step 2.3 — Add stock (goods only)
Our example item is a good (itemType: GOODS), which is stock-tracked — a sale deducts inventory, so seed some stock first. Note this is a PUT.
Selling a service (itemType: SERVICE)? Services are non-stock — skip this step and go straight to the sale. See Goods vs Services.
Step 2.4 — Create a sale
Now invoice the item. The line itemid is the item id from Step 2.1 (not your externalId).
ETR-…). See Tracking Results for how to know when it’s done.
Step 2.5 — (Optional) Issue a credit note
To reverse an accepted sale, raise an express credit note referencing the sale’sid (saleId):
Recap
In the dashboard you:- Created an account, organization, and application, and copied your API key
- Added a company and connected it to eTIMS (we handled OSCU onboarding)
- Registered and synced a catalog item
- Added stock
- Created a sale and received an ETR receipt
- (Optionally) issued a credit note
Read next
- Postman Collection — run every request in seconds
- Provisioning — the dashboard flow (and optional API)
- Catalog — classification codes, the REGISTERED lifecycle
- Sales & Credit Notes — document states, prerequisites, receipts
- Stock — adjust and transfer
- Tracking Results — the async model
- API Reference — every endpoint and field